I was messing around with a layer cake, trying to throw together something as an Instant Gratification Project. I managed to make 6 tops and 6 backs in about an hour. It was AWESOME!!! So I decided to make another set and show you all how I did it!! Are ya’ll ready???
Materials list:
1 layer cake, or 24 pieces of fabric, a 10 inch square of each
Binding material
Rotary cutter, ruler, and mat
Batting of your choice
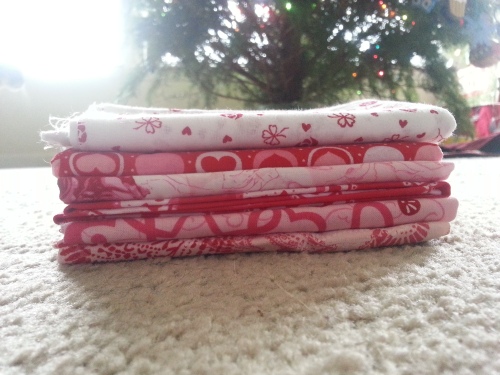
I started out with a GORGEOUS Layer cake from Moda.


I picked out the 12 pieces I want for the fronts-

Now pick out another 12 for the backs. (I know, they are JUST as pretty as the back!! If you want, go find yardage of something more boring to use and save these for another set of fronts!) 
Now, it’s time for the cutting!!
Take your 12 fronts, and put them in stacks of 6. I don’t care how you sort, just make 2 stacks. Stack them NEATLY, and square off the front edge. Cut a 4 inch, a 2.5 inch, a 2 inch, and a 1 inch.

Take the second stack and also square off the front edge. Then cut a 3 inch, 2 inch, 1.5 inch, and another 3 inch.

Take a SINGLE fabric from each stack. mix and match until you like the way it looks. You can do this any way you want. In this picture, I only have one piece of each fabric shown.

You can also do it a bit more organized. In this picture, I picked 2 fabrics from each stack. Doing it THIS way, you will have 3 sets of place mats that look very similar.

Just be sure you have one 4″ strip, two 3″ strips, two 2″ strips, a 2.5″, a 1.5″ and a 1″. That is 8 strips in total.
Sew them puppies together!!!! Iron all the seams in the same direction.

Now you should have 6 completed tops!! Aren’t they AWESOME??? They finish at approx. 10″ x 15.5″.

Now for the backs. Take 2 squares of fabric. Cut ONE in half.

Sew to the sides of the other one. Iron the seams. The backs finish at approx 10″ x 19″. Do this 6 times.

There you go!!! Now go find some scraps of batting. I’m SURE you have as much laying around as I do!!

Sandwich the 3 layers. Try to line up the top and bottom edge as best you can. Baste anyway you prefer. For small projects like this, I love to use a basting spray.

Now, quilt however you want. I thought a simple grid, or a tight stipple would hold it all down nicely. Use your creativity and have FUN!

Now to trim up the rough edges. Square it all up nice and pretty. Mine ended up trimmed to 9.5 x 15.

You can bind the edges now. Do that however you prefer. For true newbies, there are MANY YouTube Videos telling you how to do that. I’m a “lazy” quilter, and do it all on my Bernie. In fact, for THIS set, I opted to just use the overlock stitch. And I LOVE the way it turned out!! A more casual look is what i prefer, and I think this is perfect.

Here are the fronts.


and here are the backs.


And there you go!!! 6 amazingly gorgeous placemats!! With enough squares left over to make a matching table runner!!!!!! Tutorial for that later.
peace and pieces,
amy